Product Description
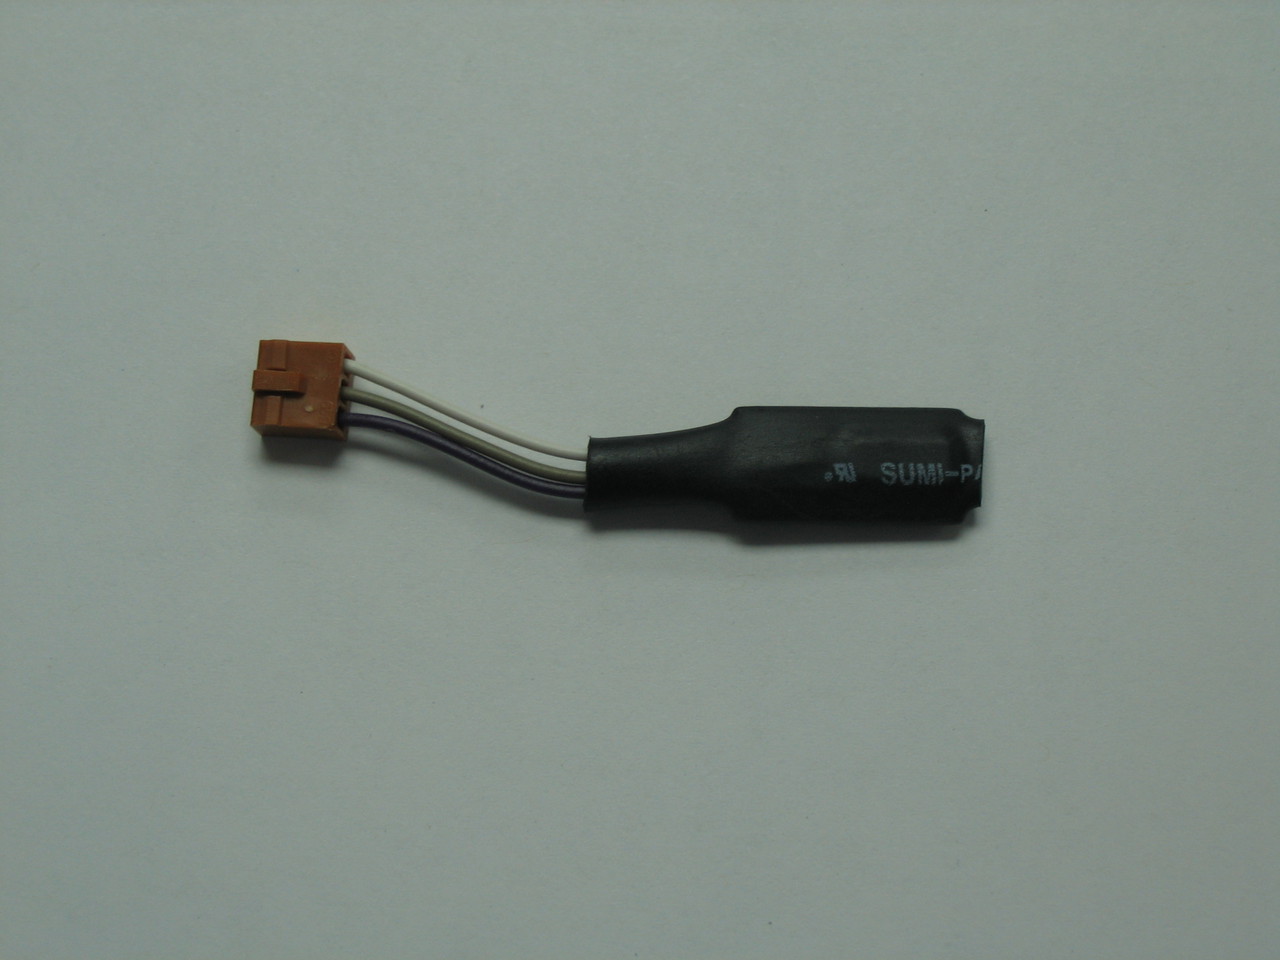
RCI Factory E-Key / EKEY Test Plug (Ranger RCI 2950DX, 2970DX, 2970N2, 2985, 2995DX)
Unlock full CPU test mode, expanded frequency spectrum coverage, and complete bench diagnostic capability across Ranger RCI 10-meter/12-meter transceivers with this genuine factory-spec RCI E-Key / EKEY Test Module. Designed specifically for bench technicians and service center alignment procedures, this specialized hardware key plugs into the internal CPU expansion port to enable factory test routines, CPU microprocessor programming modes, and full frequency spectrum evaluation across DX-series control boards.
Product Specifications & Technical Data
- Component Type: Factory CPU Microprocessor Test & Alignment E-Key / EKEY Plug
- Interface Connector: Multi-Pin Female Header Socket Interface for Main CPU/Logic Sub-Board
- Circuit Schematic Function: Bypasses standard CPU software restrictions to access factory test modes, wideband CPU spectrum evaluation, microprocessor alignment, and diagnostic testing routines
- Quality Standard: 100% Factory Original Equipment Manufacturer (OEM) service diagnostic hardware tool
- Compatible Radio Models & CPU Boards:
- Ranger RCI Models: RCI-2950DX, RCI-2970DX, RCI-2970N2, RCI-2970N4, RCI-2980WX, RCI-2985DX, RCI-2995DX
- Select Ranger and Galaxy DX-series microprocessor control boards featuring the factory E-Key diagnostic header
Installation & Bench Notes
- Diagnoses & Solves: Enables bench testing of full CPU frequency synthesis, diagnosis of locked or restricted microprocessor modes, alignment of VCO/PLL across expanded band segments, and factory CPU diagnostic testing.
- BENCH INSTALLATION PROCEDURE:
- Disconnect DC/AC power from the transceiver chassis and remove top and bottom outer covers to access the front panel CPU/logic board assembly.
- Locate the designated 6-pin/8-pin factory E-Key expansion header on the rear of the CPU control board.
- Align the E-Key socket precisely with the CPU header pins, ensuring correct pin-1 orientation according to board service manual guidelines.
- Insert the E-Key firmly onto the header pins until fully seated against the circuit board.
- Apply power to the transceiver and execute the desired factory CPU test sequence or alignment procedure using a frequency counter, spectrum analyzer, and dummy load.
- Upon completion of bench testing and alignment, power down the unit and safely remove the E-Key or reconfigure header jumpers per service manual instructions before returning the unit to normal operational mode.