Product Description
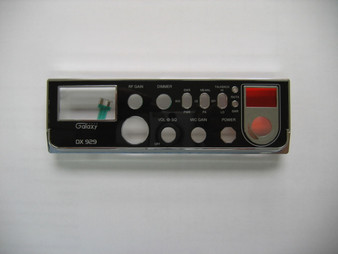
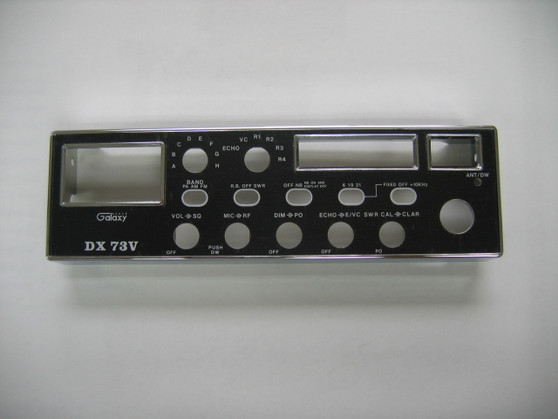
Galaxy DX73V Faceplate & Bezel Combination Assembly (Unassembled Kit)
Restore crisp front-panel graphics, clear indicator viewing, and clean structural integrity to your high-performance mobile transceiver with this genuine OEM Galaxy DX73V Faceplate and Bezel Combination Assembly. Supplied as an unassembled modular refresh set, this kit pairs a rugged replacement trim bezel with a precision silk-screened graphic faceplate overlay to eliminate cracked housings, faded labels, and worn transceiver aesthetics.
⚠️ ASSEMBLY REQUIRED & PRE-INSTALLATION NOTICES
• Assembly Required: The faceplate overlay ships separate from the bezel and must be carefully installed and bonded into the bezel housing during your bench preparation.
• Protective Film Notice: The item is pictured with the protective film in place. You must peel off the clear protective faceplate film before installing the faceplate into the bezel and prior to final mounting to ensure crystal-clear visibility.
• Hardware Care: Remove control knobs and switch retaining nuts gently, and snug perimeter bezel mounting screws by hand to avoid cracking the new plastic housing.
Product Specifications & Technical Data
- Manufacturer / Brand: Galaxy Radios (Factory OEM Service Replacement Parts)
- Component Designation: Front Trim Bezel and Graphic Faceplate Overlay Combination Kit
- Kit Format: Modular / Unassembled (Faceplate installation into bezel required)
- Mounting & Fitment: Direct Factory Chassis Replacement for Galaxy DX73V front sub-panel layouts
- Quality Standard: 100% Genuine Factory Original Equipment Manufacturer (OEM) Service Component
- Compatible Radio Models:
- Galaxy Mobile Transceivers: Galaxy DX 73V (DX73V AM/FM Transceiver)
Installation & Bench Notes
- Diagnoses & Solves: Cracked or broken bezel mounting corners, rubbed-off front panel nomenclature, heavily scratched display windows, and worn-out transceiver cosmetics.
- BENCH ASSEMBLY & INSTALLATION PROCEDURE:
- Disconnect the 12V DC power cord and antenna coaxial cable from the radio chassis. Carefully pull off all front rotary control knobs and remove all switch hex retaining nuts and dress washers.
- Unscrew and separate the old bezel and faceplate assembly from the aluminum front sub-frame. Clean the chassis mounting surface thoroughly with isopropyl alcohol to remove dust and old adhesive residue.
- Perform Faceplate Assembly: Take the bezel housing and the faceplate overlay. Align all control shaft holes, switch cutouts, and window openings precisely. Peel away the clear protective film from the faceplate, remove the adhesive backing liner, and bond the faceplate squarely into the bezel housing, pressing firmly across the surface.
- Slide the completed bezel and faceplate assembly straight back over the radio's control shafts and toggle switch bats, pressing it flush against the front metal frame.
- Reinstall all switch and potentiometer retaining nuts (snug gently by hand to prevent over-torquing), push all control knobs firmly back onto their shafts, and fasten the perimeter bezel screws.